
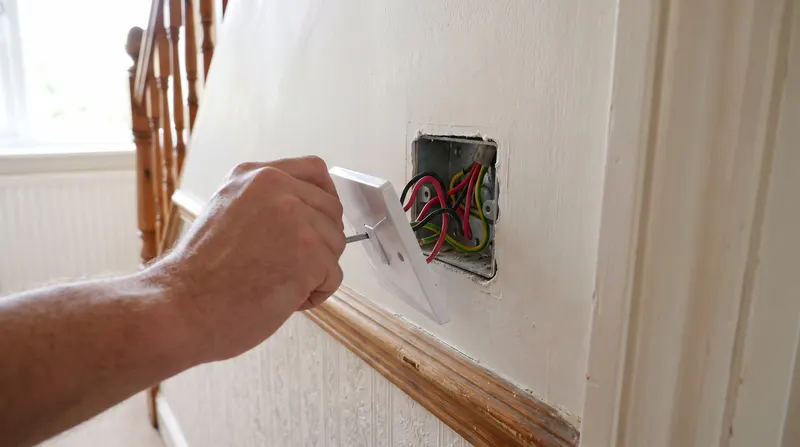
Replacing a light switch is one of the simpler jobs in a house, and most of what can go wrong has nothing to do with the new switch itself. It comes down to three things: isolating the circuit properly before you touch anything, working out which kind of switch is actually on the wall, and knowing when what's behind the plate means you should stop and call someone instead.
Isolate the circuit, not just the switch
Flicking the switch to off does not make the terminals behind it safe to touch — it only breaks the circuit at that one point, and depending on how the switch is wired there can still be a live conductor sitting in the box. Go to the consumer unit and switch off the breaker for the lighting circuit the switch is on. Some houses run every light off one breaker; others split lighting by floor, so if you're not sure which one it is, turn off lights around the house to find it rather than guessing.
Once the breaker is off, test the switch is actually dead with a proper voltage tester before you take the faceplate off — not by touch, and not by assuming the breaker you flipped was the right one.
Work out what you're dealing with before you start
Take the faceplate off and look at the back before you disturb anything. A one-way switch, the kind controlling a single light from a single position, has two terminals in use. A two-way switch — one of a pair controlling the same light from two places, the classic example being a landing light worked from upstairs and downstairs — has three, and the wiring between the pair matters. Swap the wrong two terminals on a two-way switch and you can end up with one switch that no longer does anything, or a light that's on with both switches down.
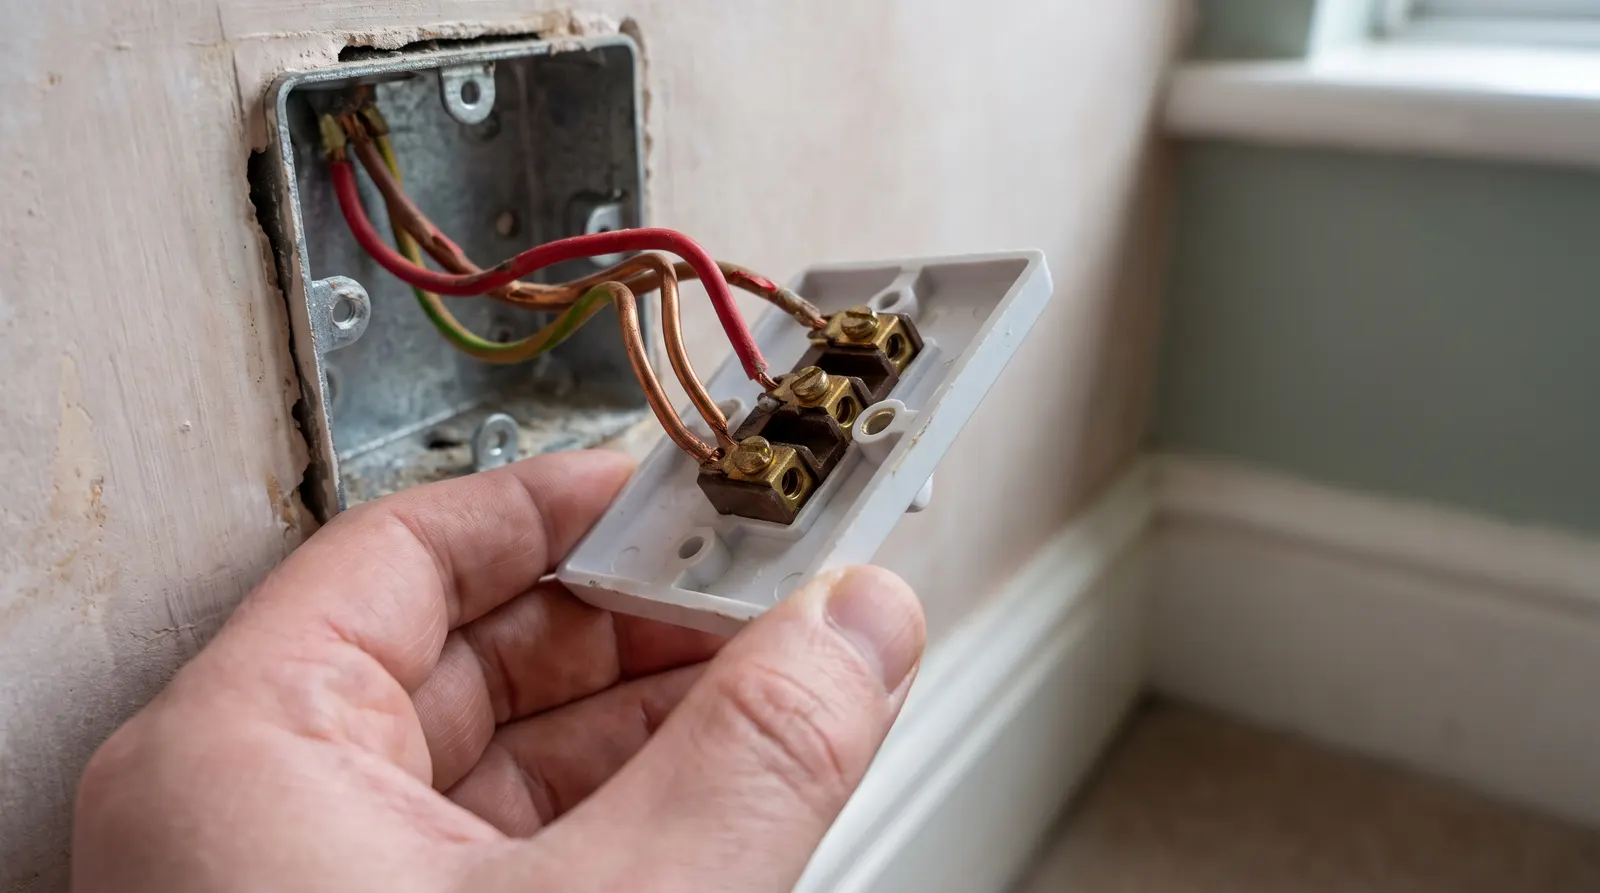
- Photograph the wiring before you disconnect anything, close enough to read which terminal each conductor was in.
- Disconnect and reconnect one conductor at a time rather than pulling everything off the old switch at once.
- Match terminal for terminal on the new switch — common, L1, L2 — rather than by position on the plate.
- Don't assume the new switch's terminals are laid out the same way as the old one; check the markings.
- Secure the faceplate, restore power at the breaker, and test it before you put the tools away.
Earth conductors and metal faceplates
A standard plastic switch plate doesn't need an earth connection to work safely. A metal or brushed-finish plate does, because a fault could otherwise make the whole faceplate live. Modern wiring almost always has an earth conductor run to every switch position for exactly this reason, even where the switch itself doesn't use one — but older installations sometimes don't, and that's not something to find out by fitting the metal plate and hoping. If there's no earth conductor in the box, stick to a plastic plate.
Dimmers are a different question
If you're swapping a standard switch for a dimmer, the wiring side is largely the same — but a dimmer that doesn't suit the bulbs on that circuit can flicker, buzz or refuse to dim smoothly even when it's wired correctly. That's its own subject, which we cover separately.
We fit and replace switches and dimmers as part of general sockets and lighting work across London, Essex and north Kent. If the switch is only the symptom — flickering that started before the switch gave any trouble, say — it's worth reading what we've written on why lights flicker before you spend money on a part that was never the problem.
If you are unsure, it is always cheaper to ask than to guess. Give us a call and we will tell you straight.